Every year for the past 10 years, I have spent the day before the girls’ birthday party creating their requested custom cake. This carries on an important family tradition handed down both from John’s side of the family and mine.
In John’s family, it all started with the bear in the wagon – the traditional first birthday cake for all John’s siblings and cousins that took 4 boxes of cake mix and three people working all day to accomplish. On my side of the family, the most famous and remembered cake was the doll cake, with an actual doll IN the cake and the cake as her large, old-fashioned hoop dress.
For me, the annual cake odyssey has become a welcomed challenge. No two cakes are ever the same and they are all custom designed and made, so I know no child will ever have a cake like my kids have! Past years’ cakes have included Caillou, Dora and Backpack, Blue from Blue’s Clues, Elmo, Bert & Ernie, Pocahontas, a 3-D lamb, a 3-D barn with barnyard and silo, and the unforgettable Amazon bowling cake.
This year, I decided to document what goes into making one of my custom cakes! I start with the kids’ request and an idea. Sometimes, there is a Wilton cake pan for their request, which makes things much easier. Usually there isn’t, so I go from scratch. This year, a unicorn was requested. It was to be white with a blue mane and tail and a pink horn (my children have very definite ideas about their cakes!). This clip art I found online made the perfect pattern.
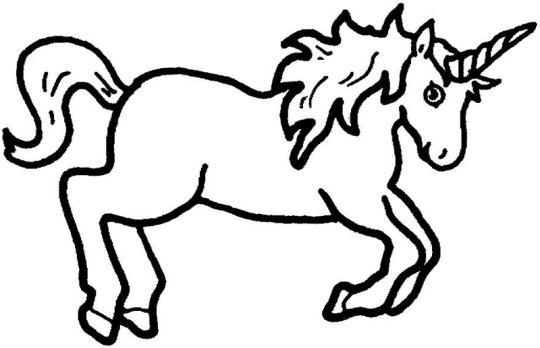
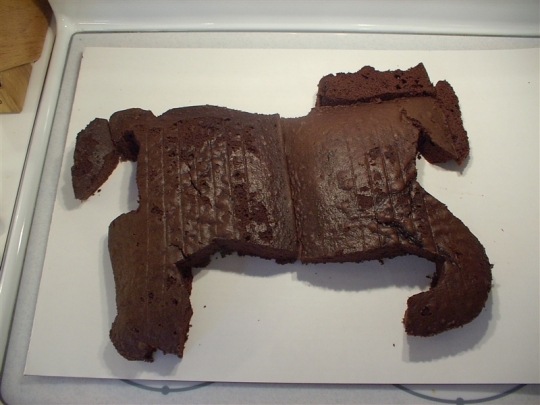
Next, I cut the cake into the shape I need. I started with two 9×13 cakes, blew the clip art up to the size I needed, then cut around the paper. Easy! (The lines have nothing to do with anything – they are lines from the cooling racks when I turned the cakes out and righgt side up again!)
Where the paper ran off the cake, I cut pieces to create what I needed (like for the mane and head). I made my unicorn a bit fatter than the picture to waste less cake and feed more people. I also had trouble with the curvy tail, so I just made it straight. There are no rules, so sometimes you have to make things up as you go along!
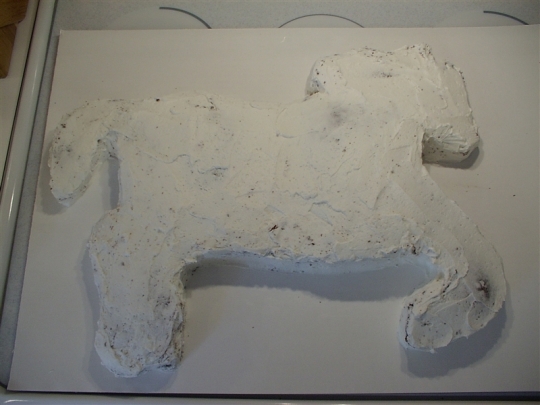
Next comes what’s called a “crumb coat” of frosting. This is a thin, easily spread layer which seals in the crumbs and binds the various pieces of cake together into a whole.
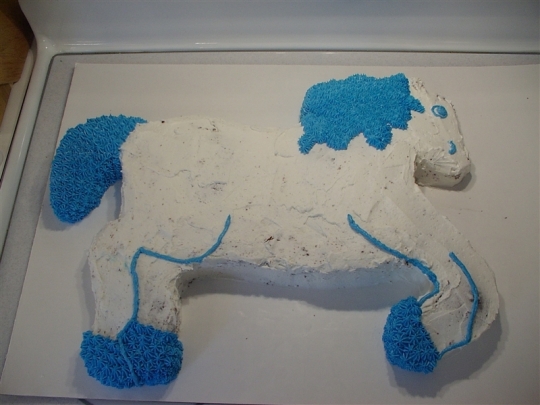
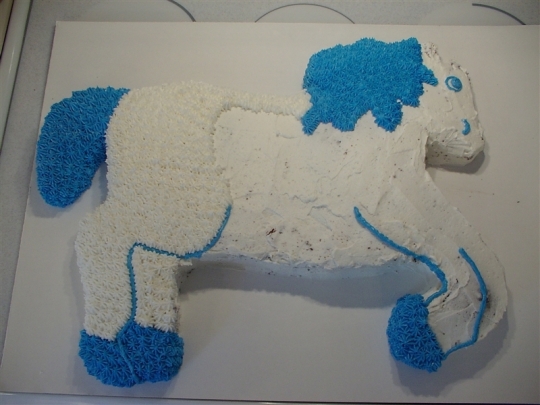
After the crumb coat, I start the decorating. I start with the smallest color or area first – in this case the blue mane, tail, and hooves. I also add some piped detail to show the legs, body, nose, and eye.
Next comes the l-o-n-g part – piping white stars onto the body. It took 6 bags of frosting to cover the white areas alone! I made 12 cups of frosting altogether for this cake. In this picture, the stars are only half piped. I used Wilton tip #21 and the cake is sitting on a full sheet cake board, so that gives you an idea of the size!
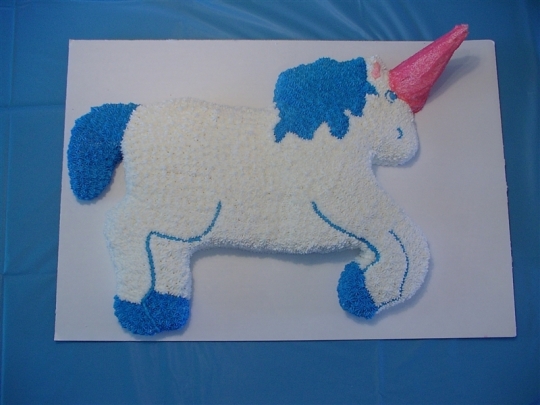
When the cake was fully piped, it was time to add the unicorn horn. I took a waffle ice cream cone and stuffed it full of cake. Then I iced it with thinned buttercream colored pink, sprinkled it with pink sugar, an shoved it into the cake, keeping my fingers crossed that it would stay. So far, so good! I added some pink detailing to the ear to pull in more of the pink color.
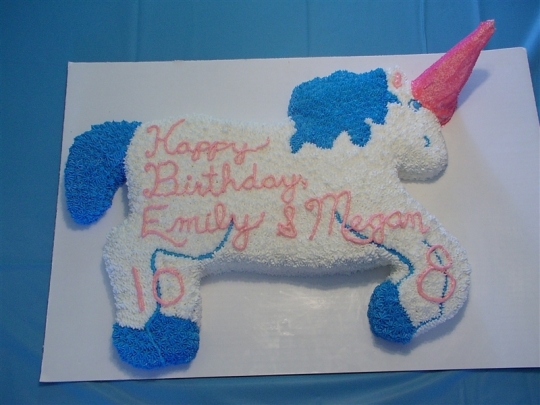
And finally, I added the words, piped in more thinned pink frosting.
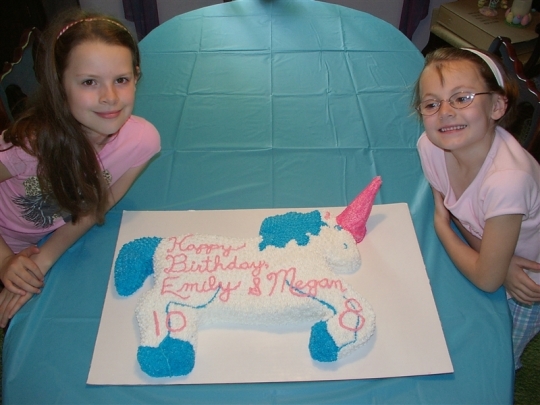
Happy birthday to my two quickly growing-up girls!
Comments on: "How to Make a Unicorn" (4)
[…] birthday time again at the Schinker household! Details on how this cake came to be are here. […]
The step-by-step instructions are great! What a wonderful memory for the girls :-)
[…] It’s birthday time again at the Schinker household! Details on how this cake came to be are here. […]
[…] Hot Here! Ch-ch-ch-ChoicesHow to Make a UnicornWho Am I?Baby, You CAN Drive My Car!Photo […]